
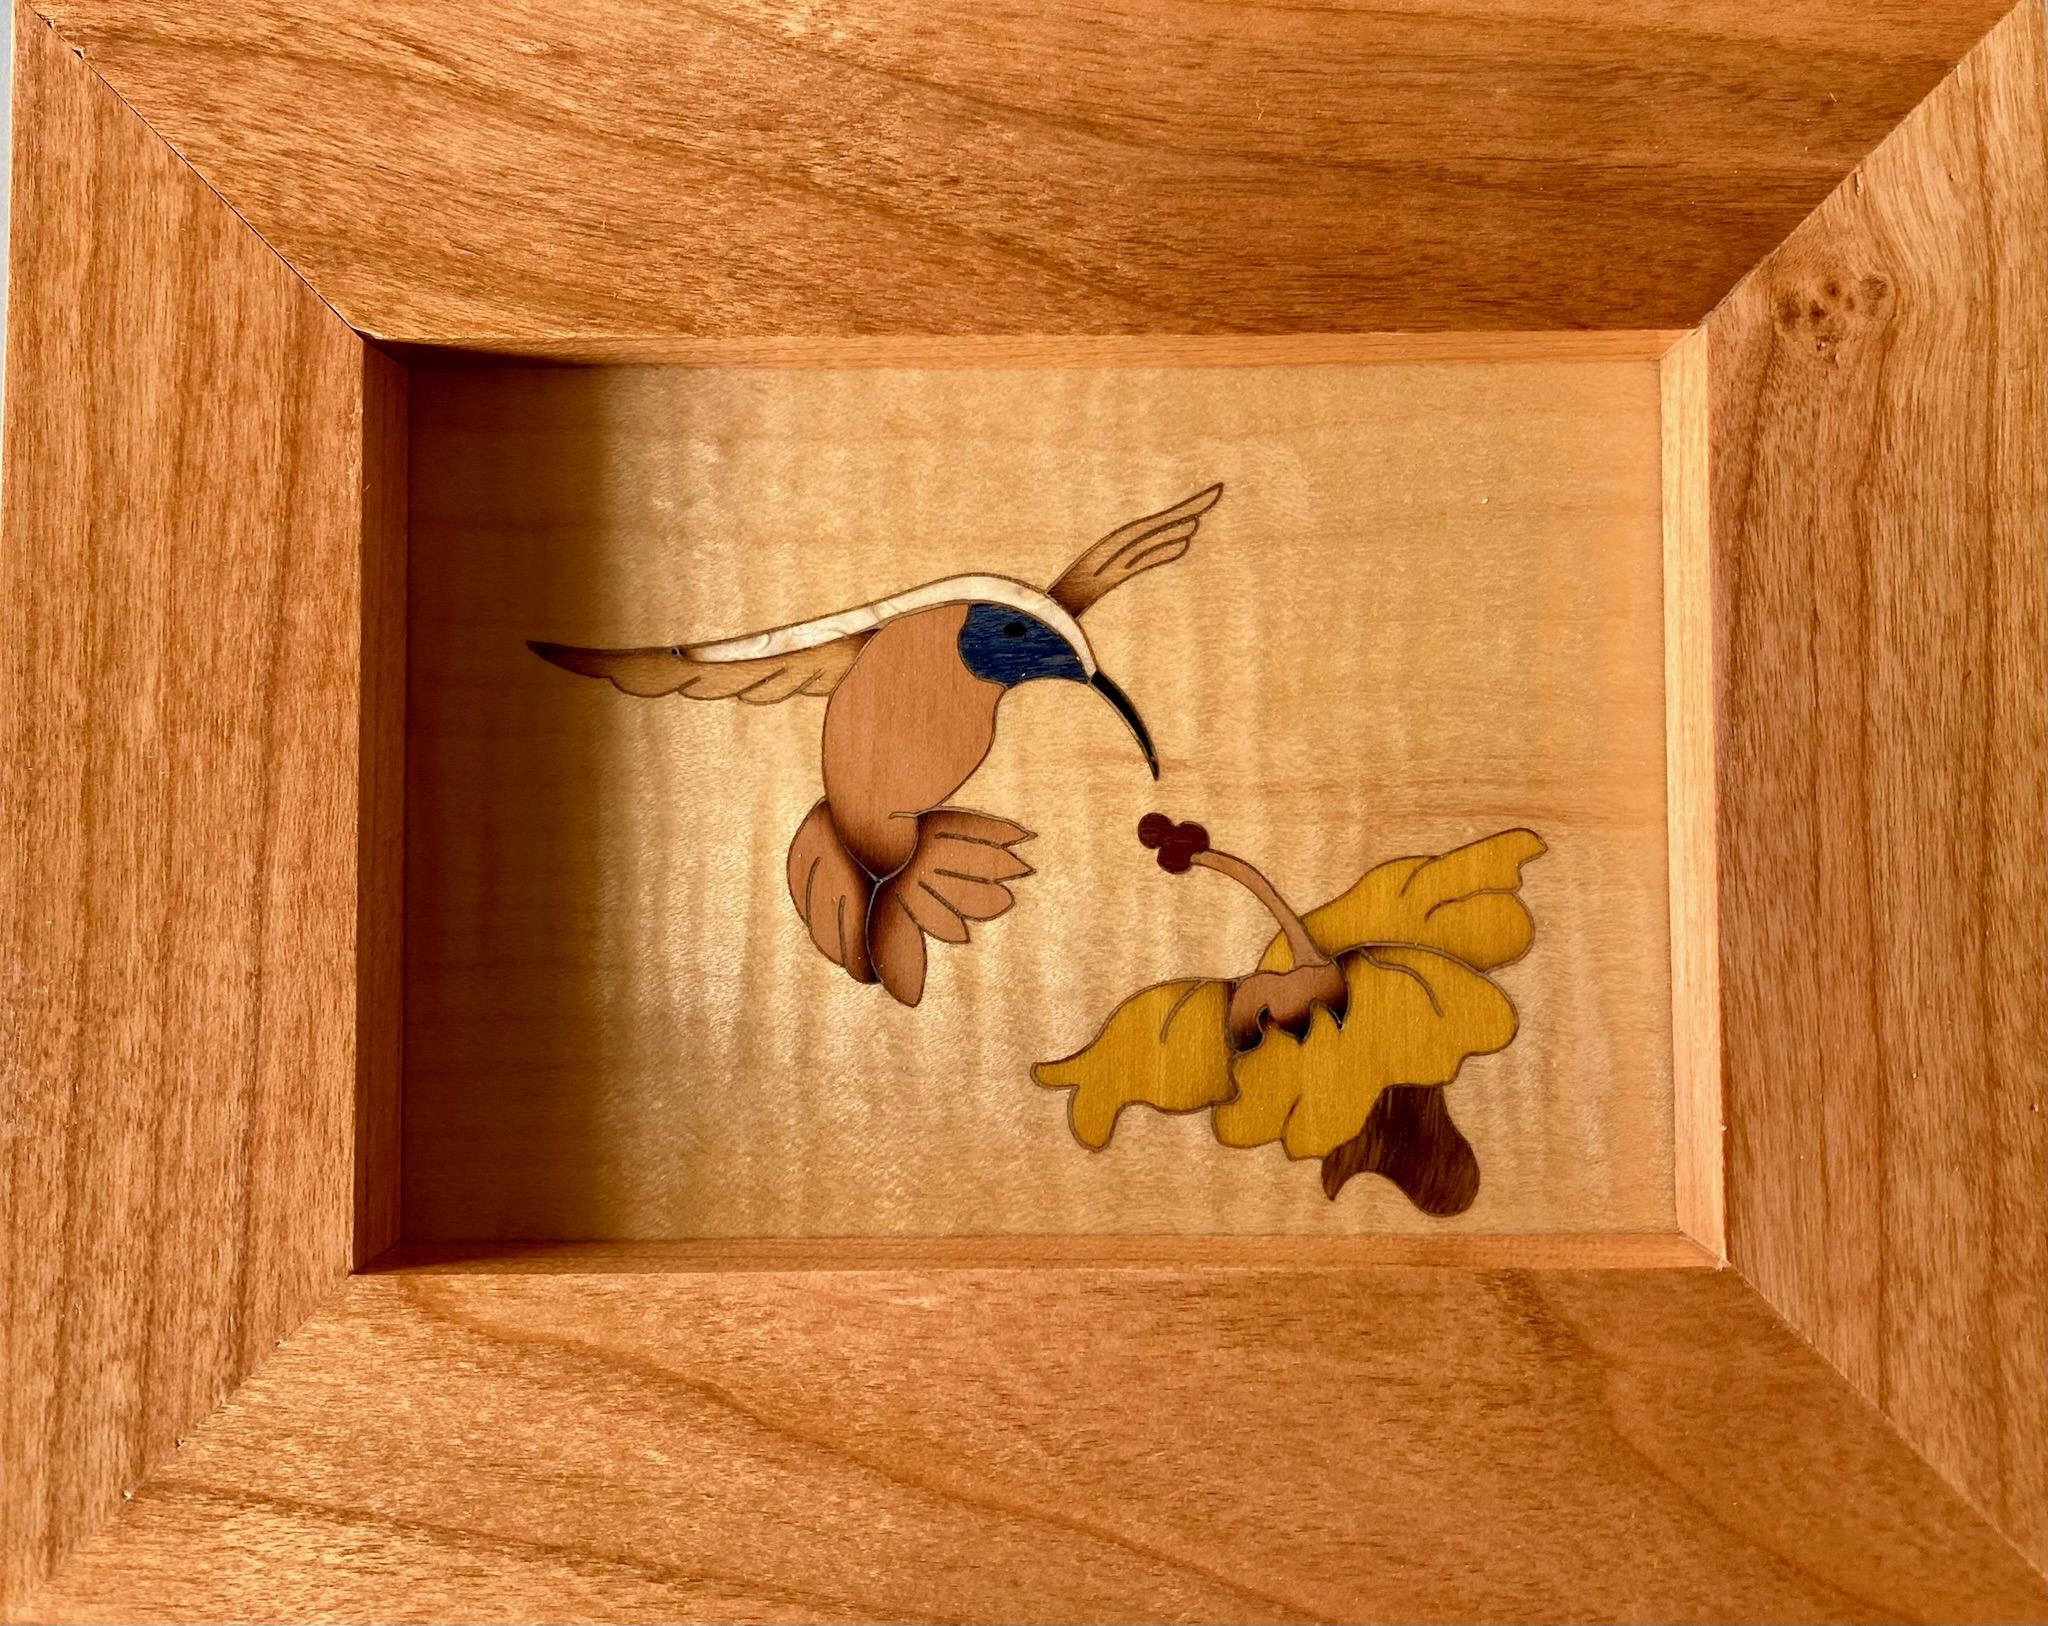
Swallow
Wood Inlay
$135.00
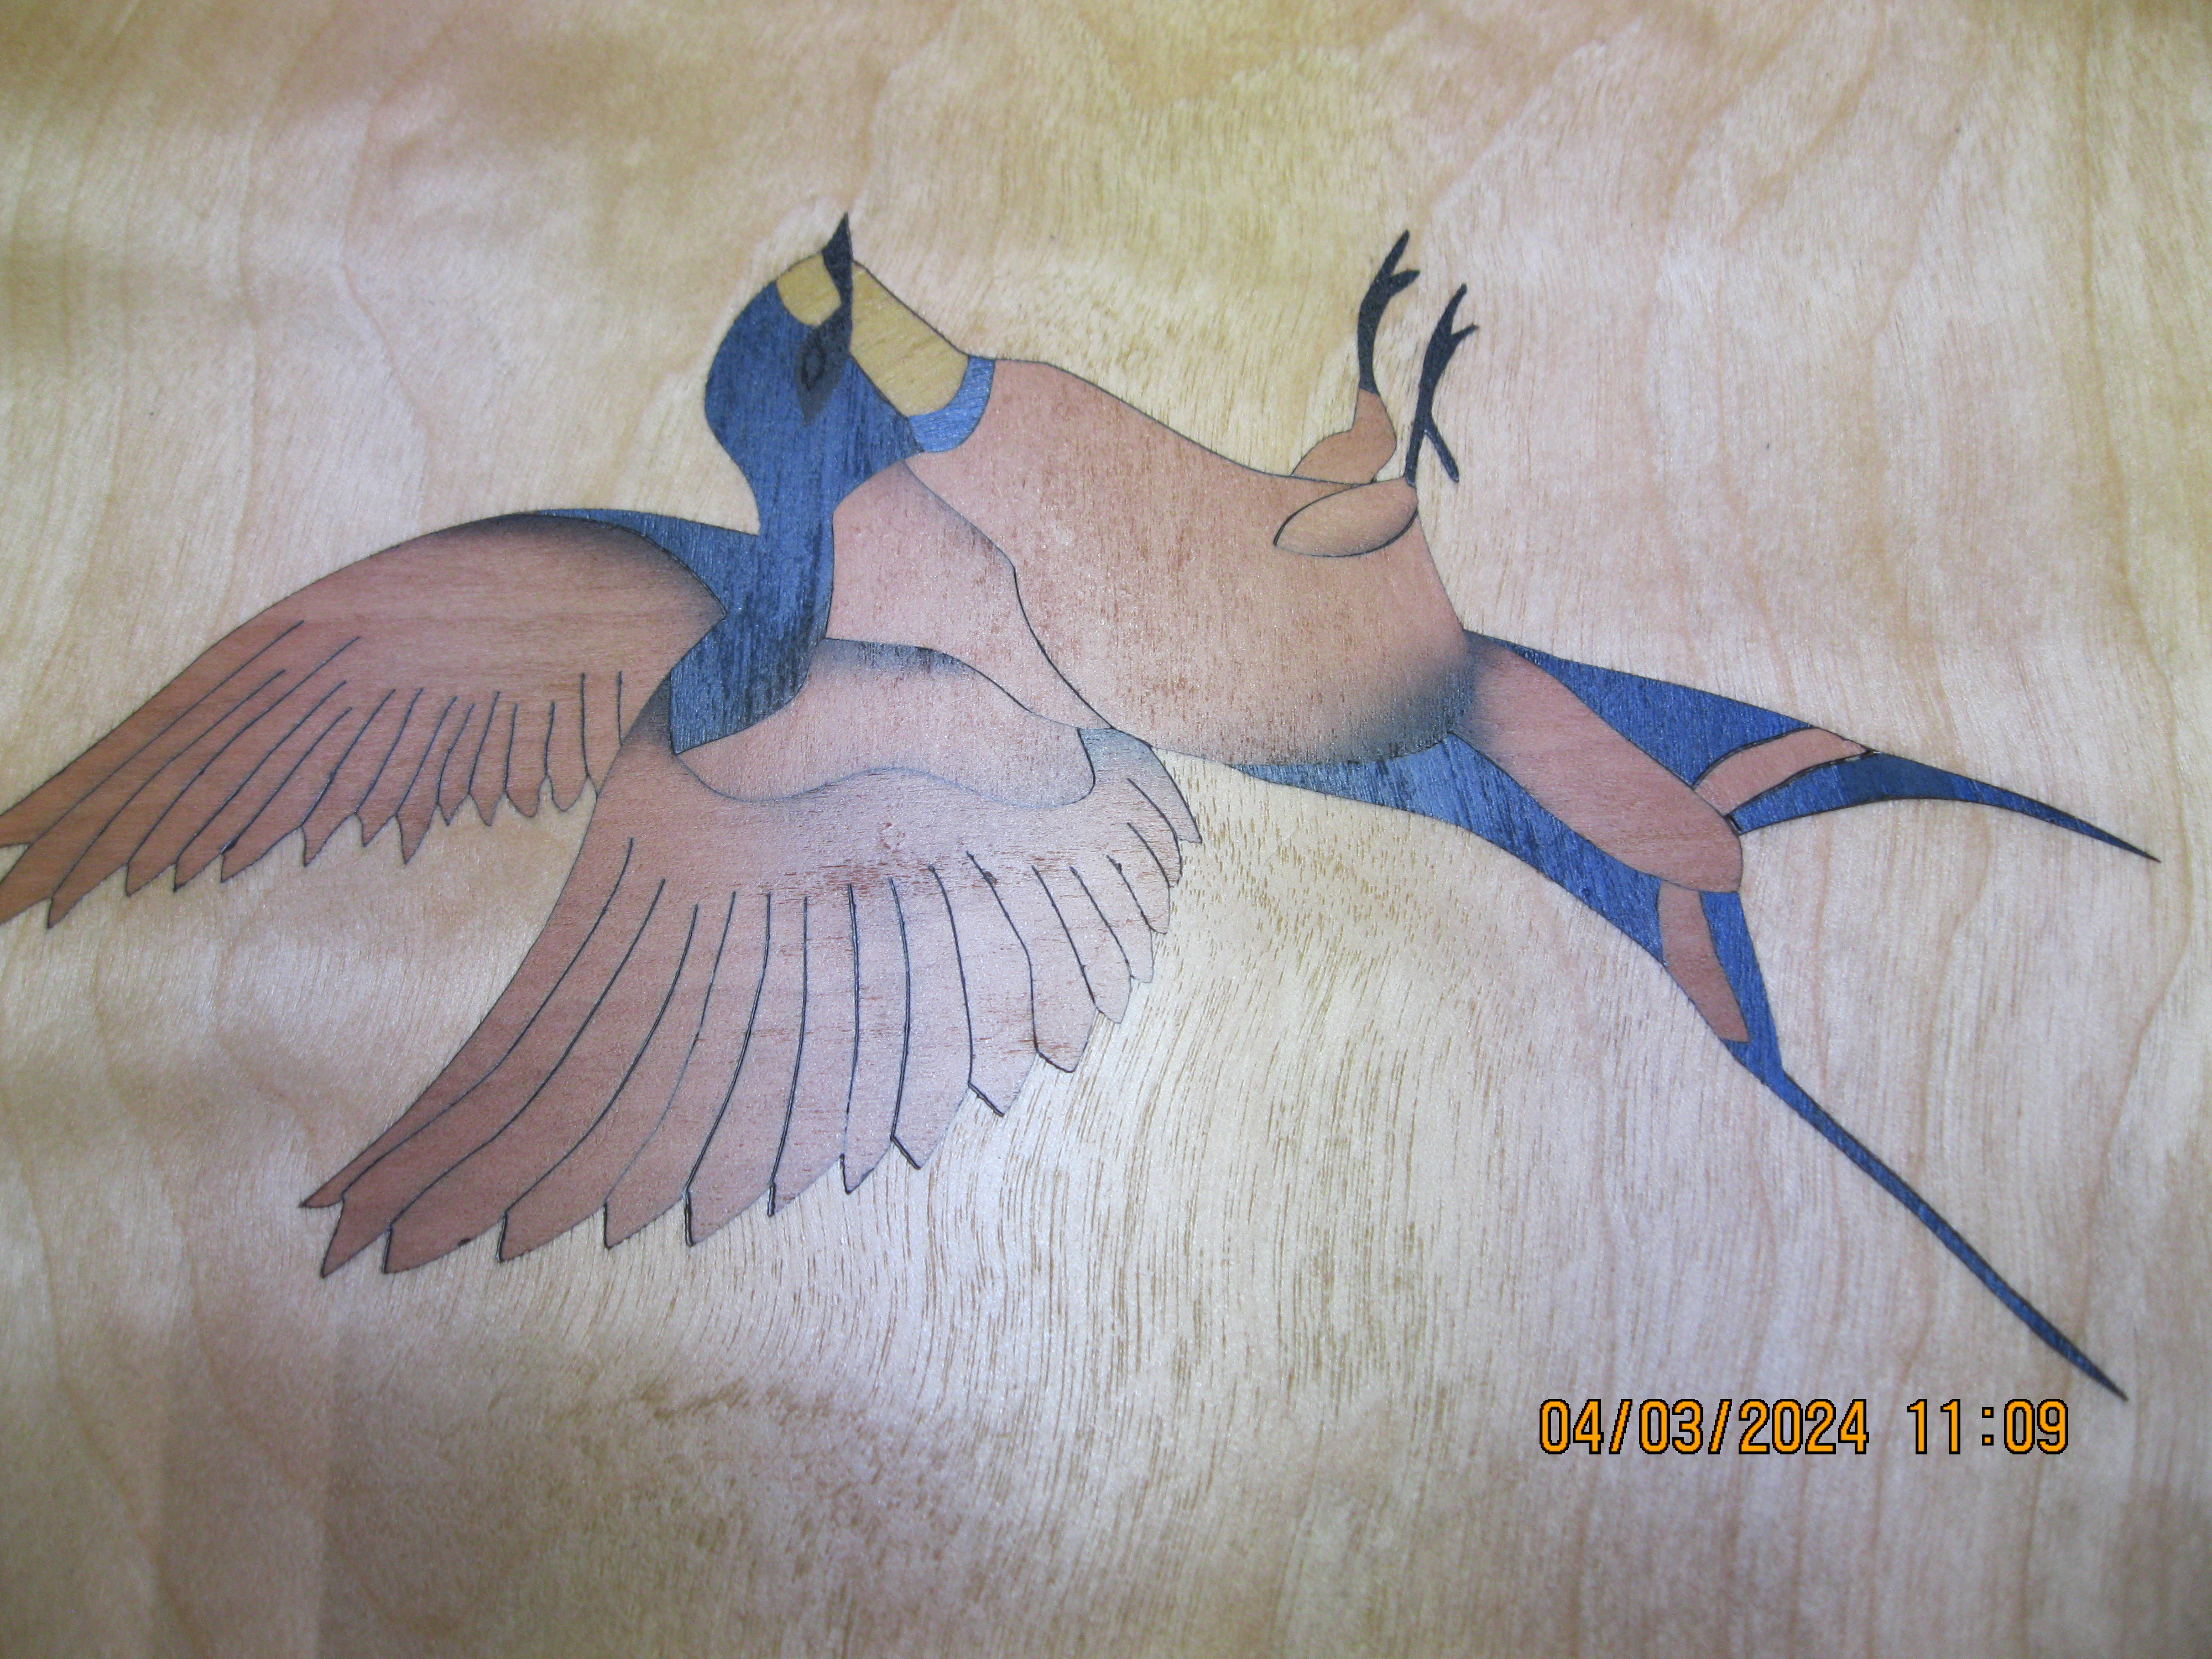
This is a wood inlay. It’s made from multiple selections of veneer wood cut to tight tolerances to be able to fit together tightly. In addition, some pieces are shaded by taking the pieces and placing them into very hot silver sand. This lightly burns the wood and makes the areas you see look shaded or gives it depth.
The different types of wood used here is pear wood and alder and 2 different colors of dyed wood. Blue, black, and a shade of yellow was used. This matched the barn swallows that live around my house.
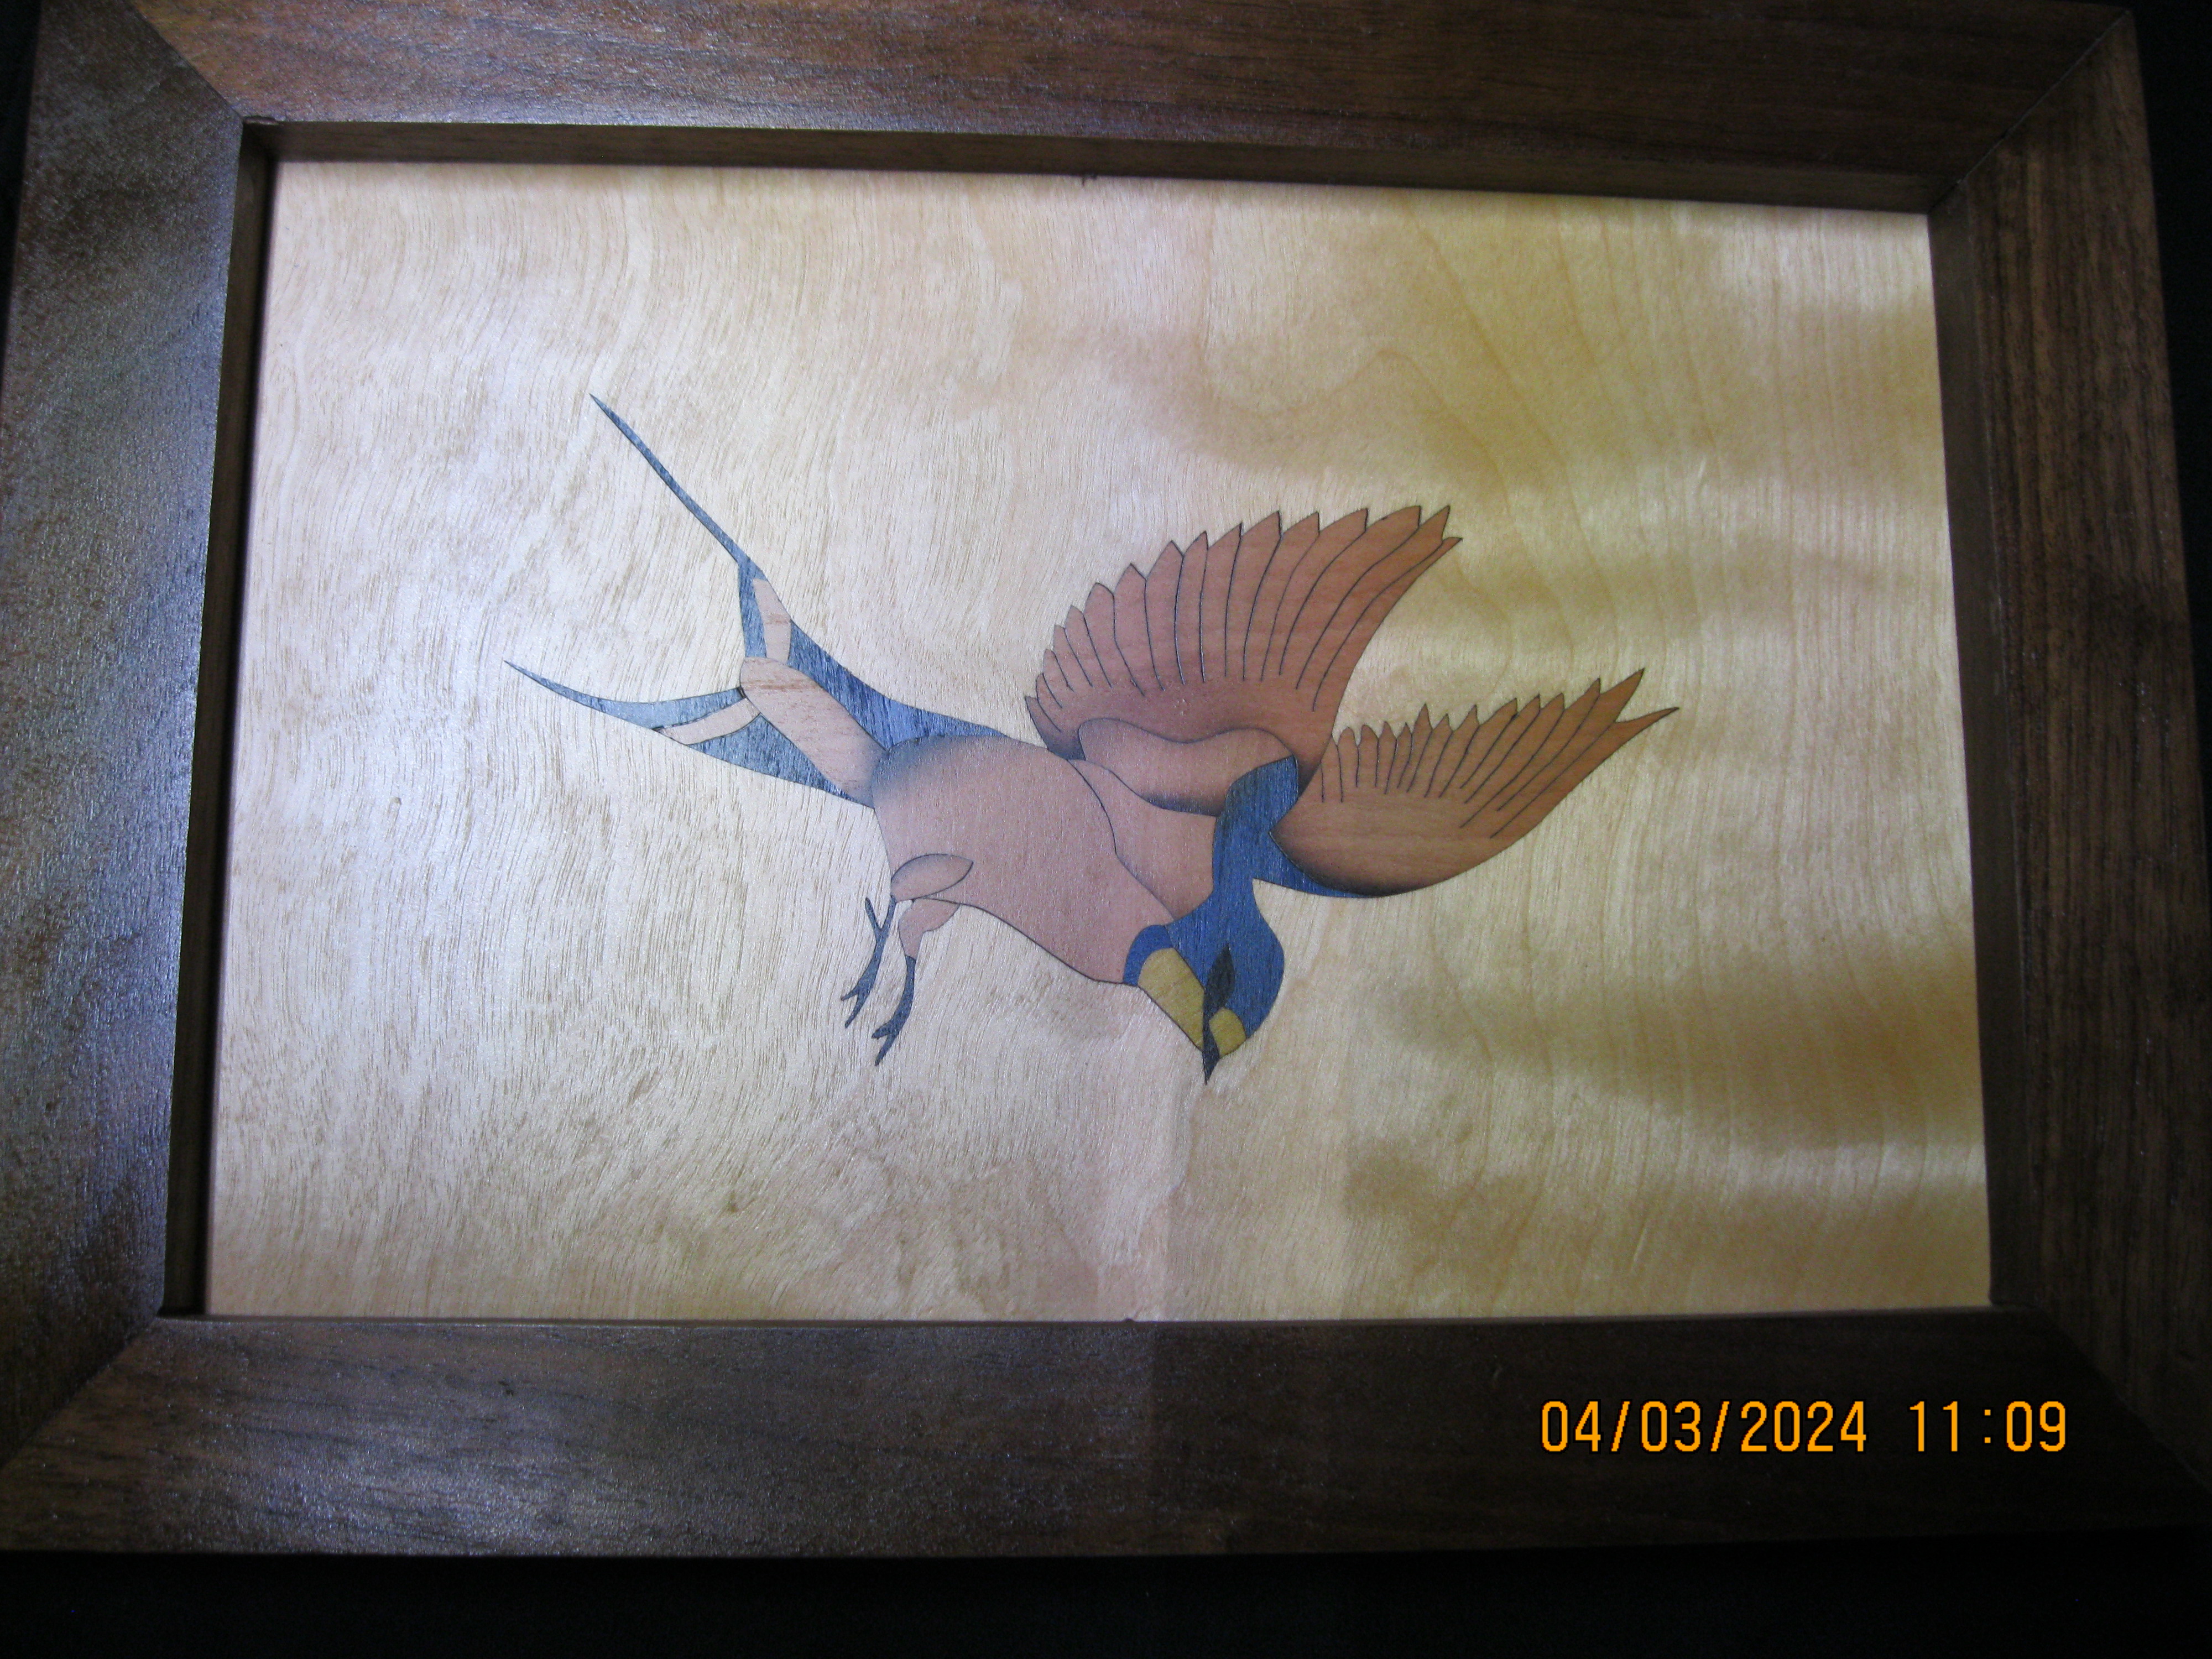
All of the cut-out pieces are assembled and then a paper tape is applied to the face. Next the back is glued and put into a vacuum press to adhere the inlay to a sub straight. That’s a piece of MDF, which will not expand or contract to ruin the inlay.
Out of the vacuum press the paper tape is removed with some water and a plastic putty knife. Then it’s allowed to dry and is lightly sanded. Finally, a finish is applied.
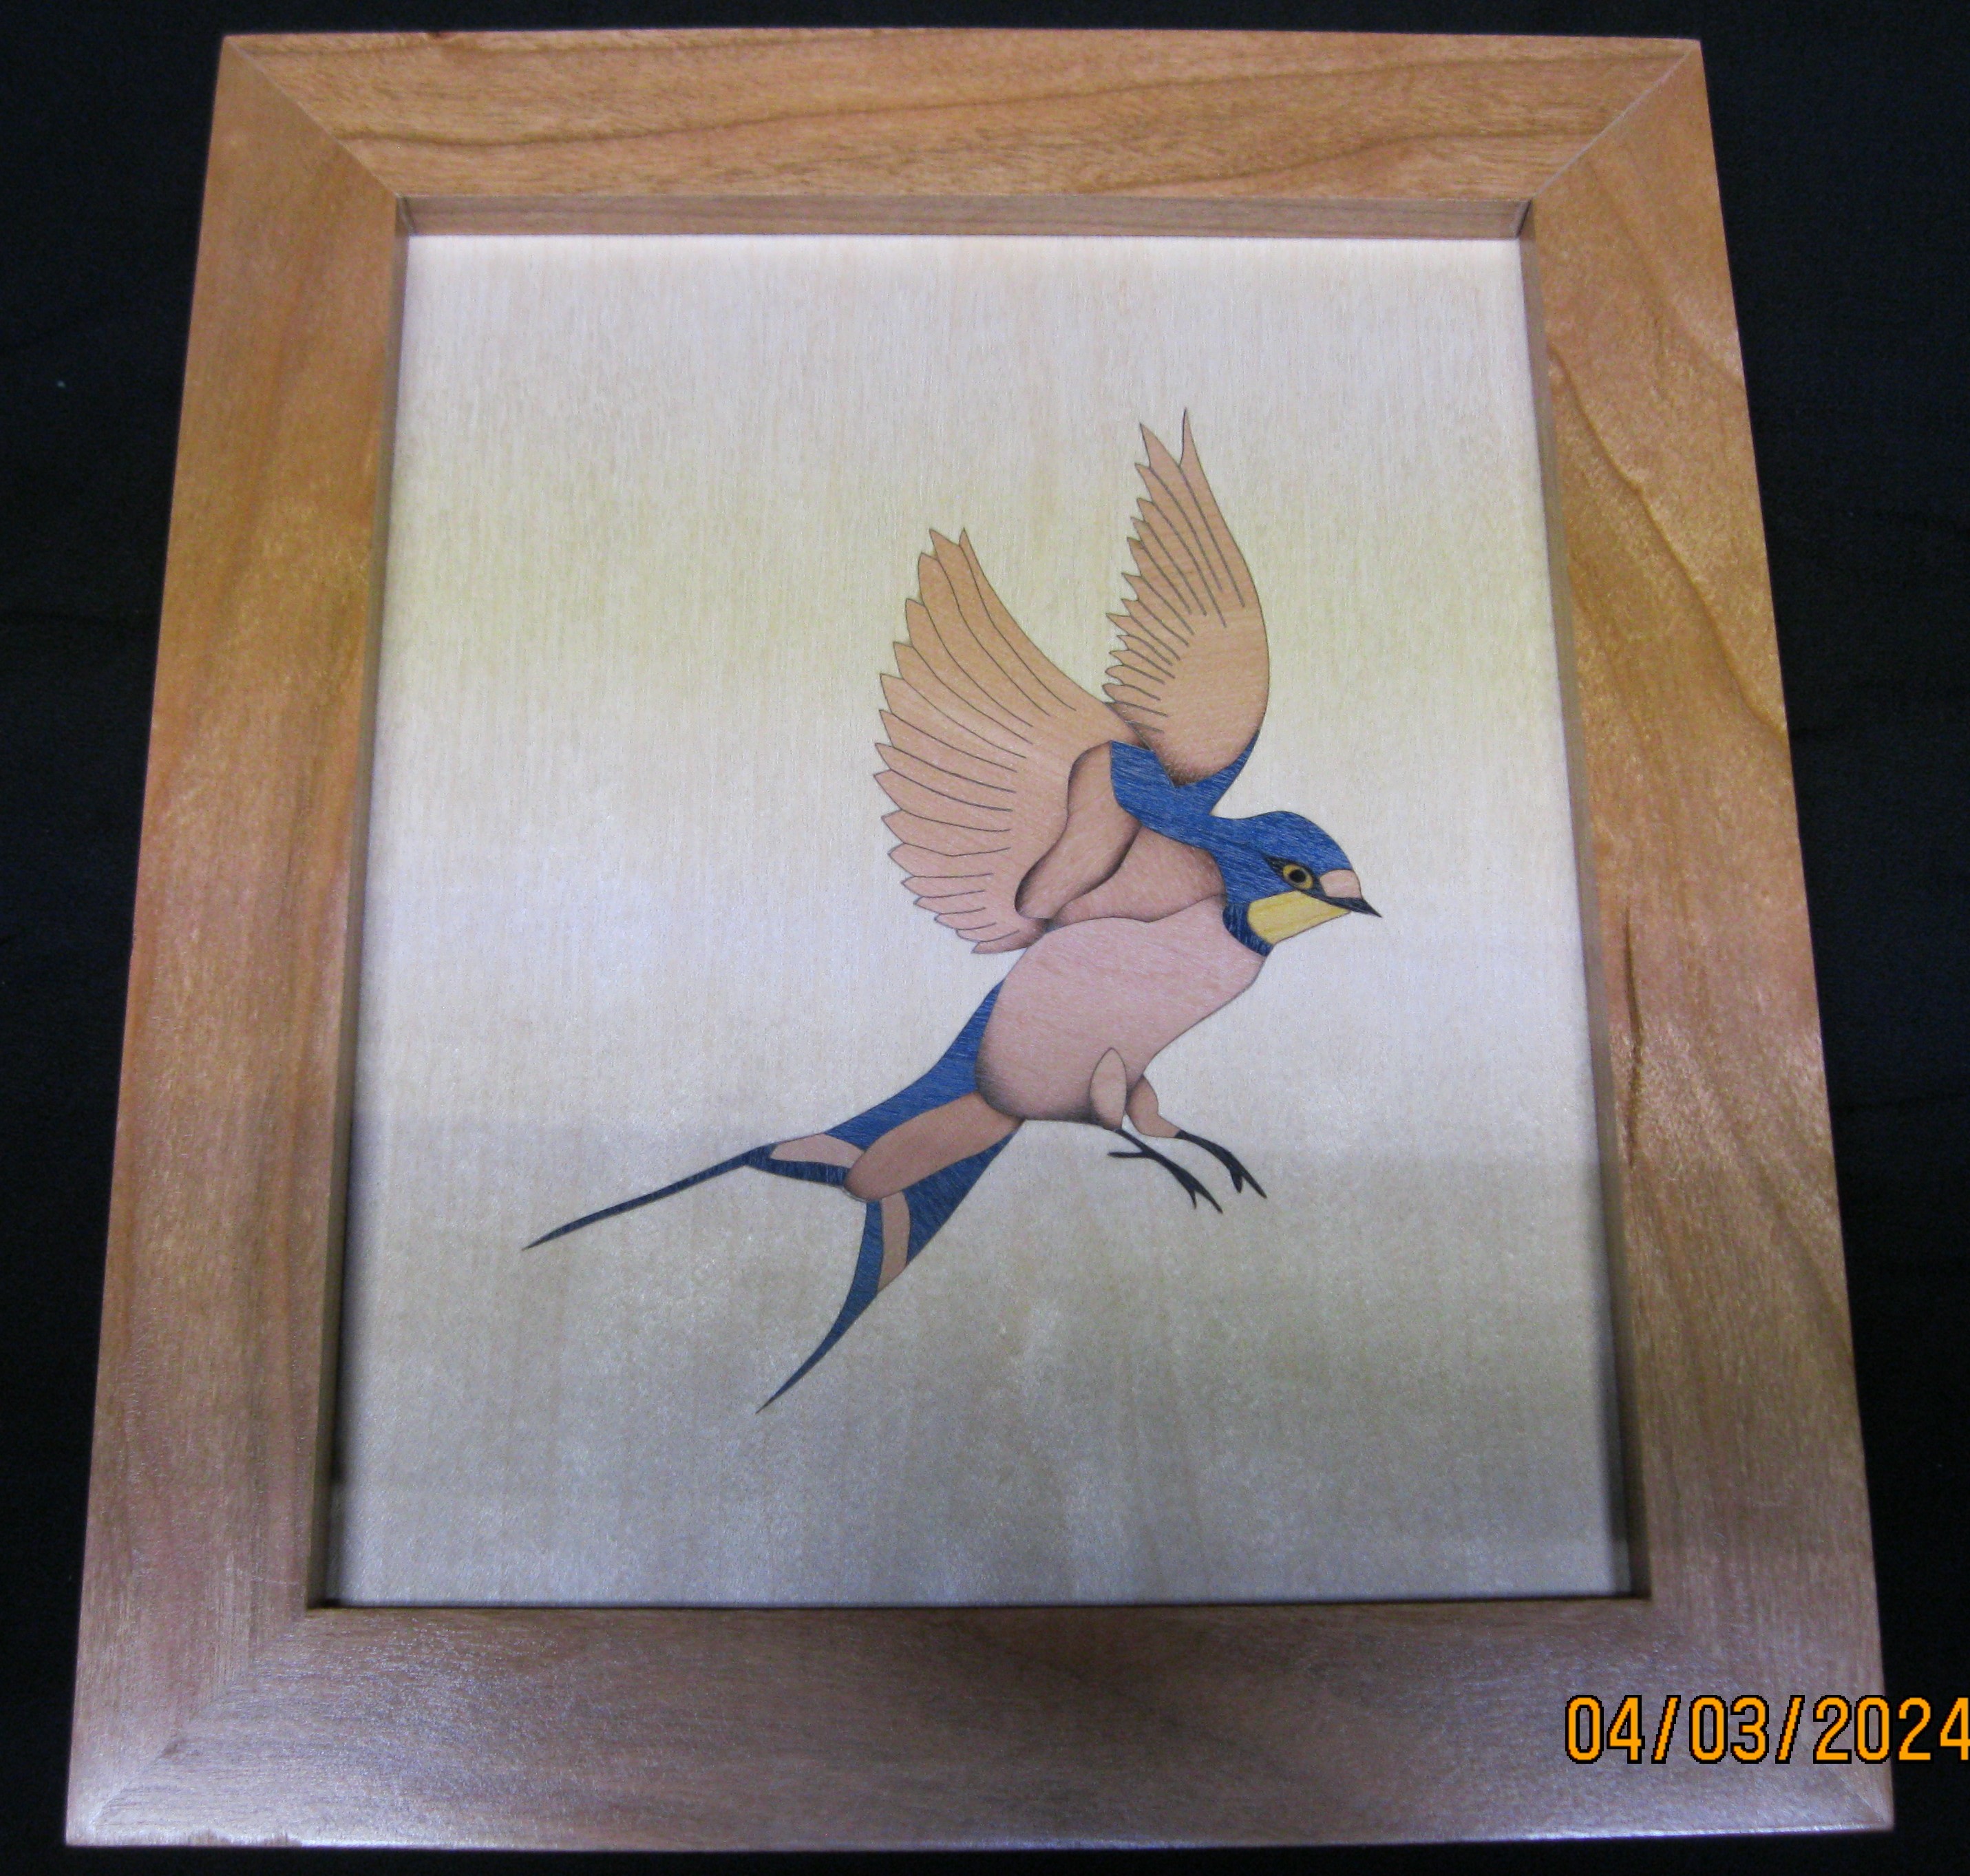
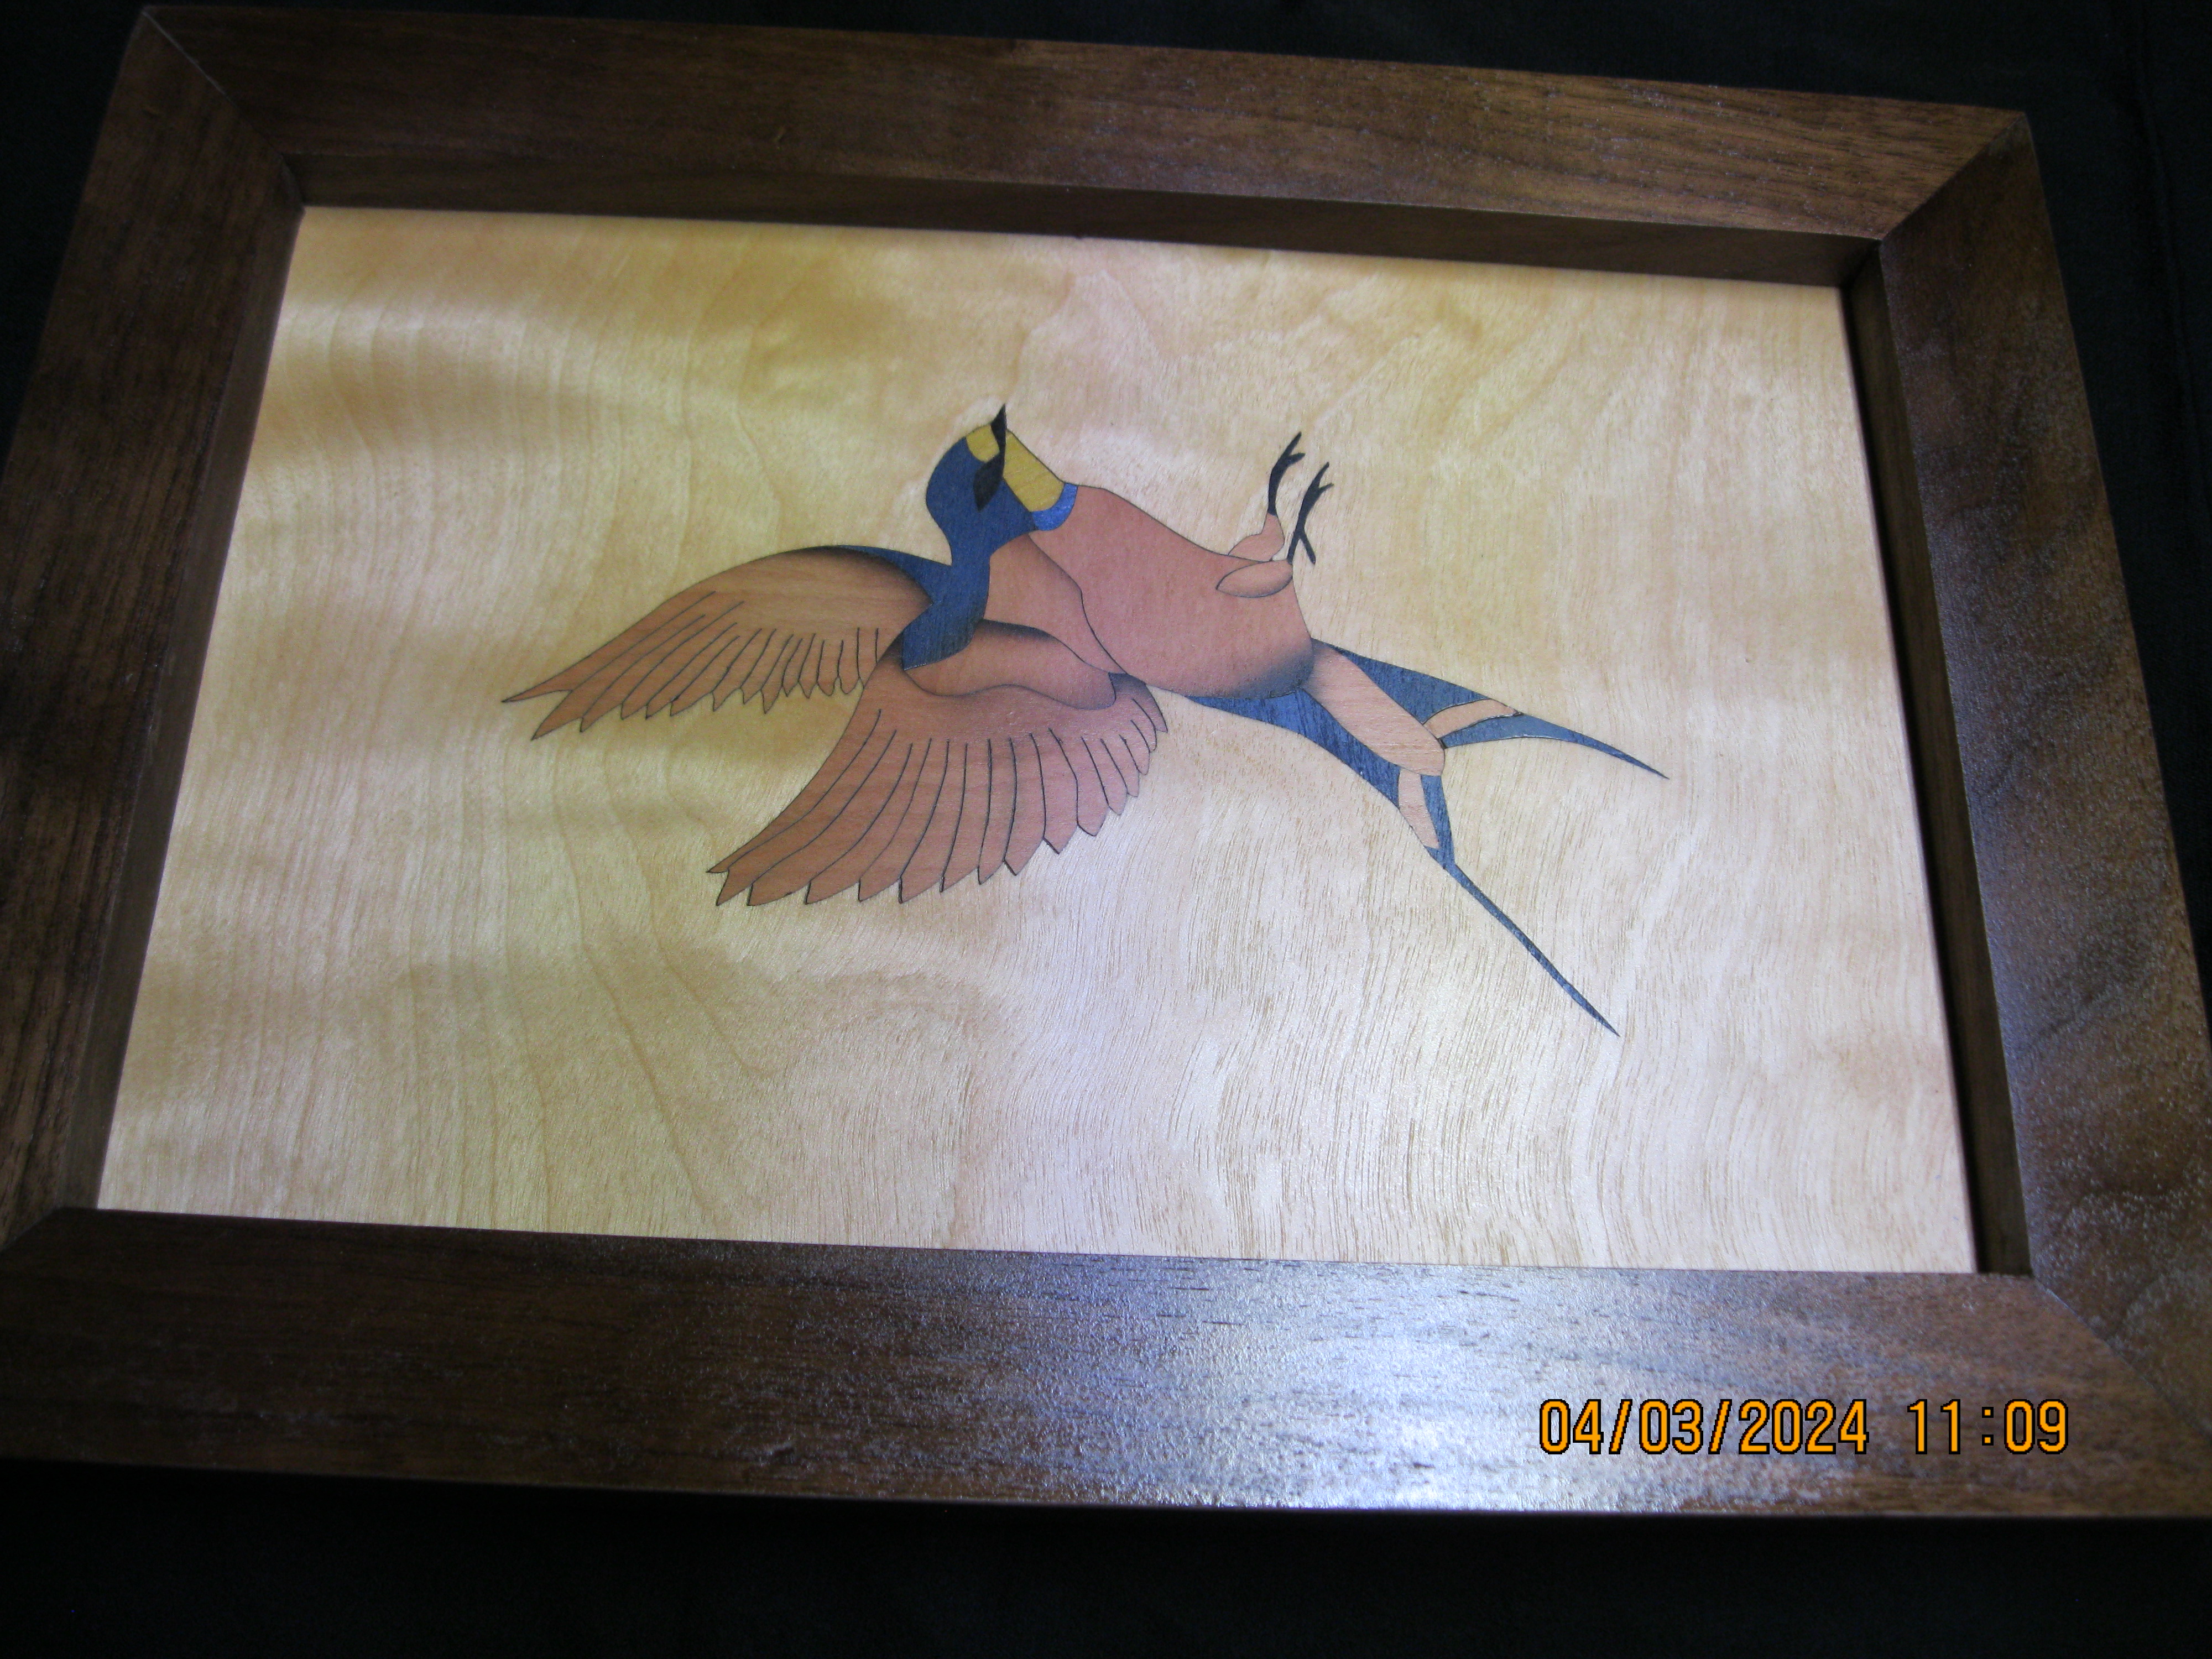
I make each picture frame for these inlays. There is a walnut frame and also a cherry frame. The frame corners are reinforced with another piece of wood like a wedge. I do this because gluing two 45 degree angles is like gluing end grain to end grain and will not last very long.
As you can see this is a long and detailed process and that is why the price reflects the amount of work put into it.
This is a wood inlay. It’s made from multiple selections of veneer wood cut to tight tolerances to be able to fit together tightly. In addition, some pieces are shaded by taking the pieces and placing them into very hot silver sand. This lightly burns the wood and makes the areas you see look shaded or gives it depth.
The different types of wood used here is pear wood and alder and 2 different colors of dyed wood. Blue, black, and a shade of yellow was used. This matched the barn swallows that live around my house.
All of the cut-out pieces are assembled and then a paper tape is applied to the face. Next the back is glued and put into a vacuum press to adhere the inlay to a sub straight. That’s a piece of MDF, which will not expand or contract to ruin the inlay.
Out of the vacuum press the paper tape is removed with some water and a plastic putty knife. Then it’s allowed to dry and is lightly sanded. Finally, a finish is applied.
I make each picture frame for these inlays. There is a walnut frame and also a red oak frame. The frame corners are reinforced with another piece of wood like a wedge. I do this because gluing two 45 degree angles is like gluing end grain to end grain and will not last very long.
As you can see this is a long and detailed process and that is why the price reflects the amount of work put into it.
